
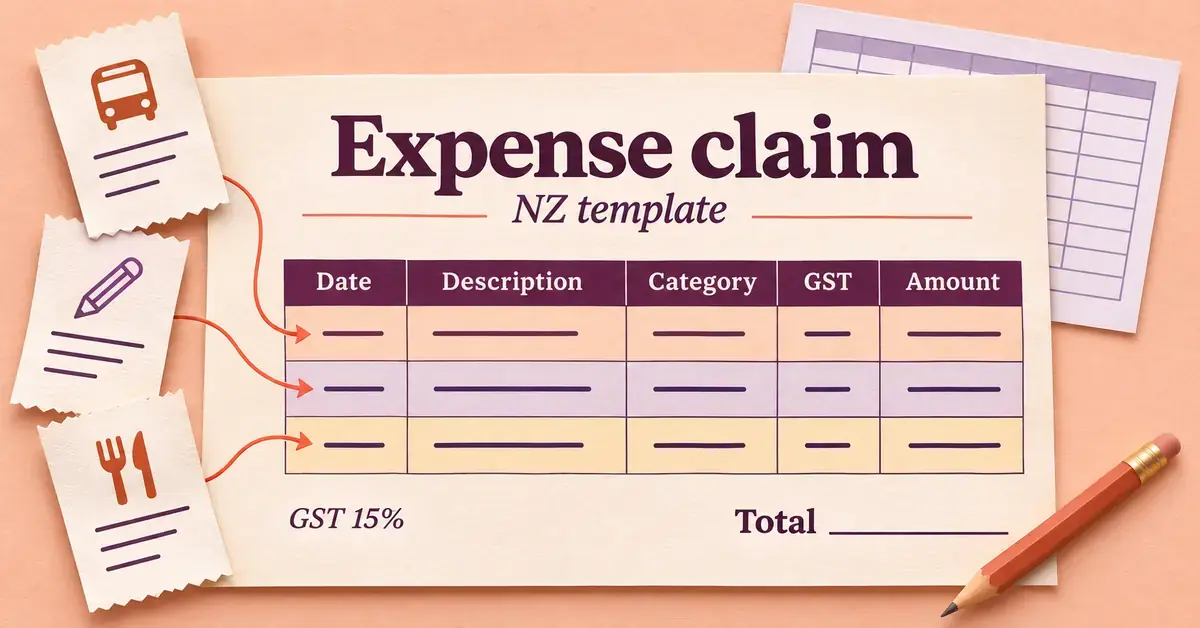
A free expense claim template is a simple, reusable form that lists each business cost — the date, a description, the category, any GST and the amount — so an employee, volunteer, contractor or sole trader can be reimbursed or claim a tax deduction. In New Zealand you can build one in a few minutes in a free spreadsheet or document, or download a ready-made version, and then adapt it for local details like the 15% GST rate and Inland Revenue (IRD) mileage rates. This guide shows what the form must contain, how to make it in Google Sheets, Excel, LibreOffice or OpenOffice Calc, Word or Google Docs, and the record-keeping rules that apply once it is filled in.
Key Points
- A free expense claim template is a reusable form that records each business cost — date, description, category, GST and amount — so it can be reimbursed or deducted.
- You can build one in minutes in Google Sheets, Excel, LibreOffice or OpenOffice Calc, or as a table in Word or Google Docs — or download a ready-made one.
- For New Zealand, add a GST column (GST is 15%) and, for vehicle travel, use IRD kilometre rates or a logbook rather than claiming the full running cost.
- Back every line with a receipt or tax invoice, and include a bank account number for payment.
- Keep the completed claims and receipts for at least seven years — an Inland Revenue requirement.
What is an expense claim template?
An expense claim template is a pre-formatted form used to request money back for costs someone has paid out of their own pocket on behalf of a business or organisation. Each row records one purchase; the form adds the rows up and shows a total to be reimbursed. It is sometimes called a reimbursement form or an expense report, though an “expense report” often means a wider summary of spending over a period, while an “expense claim” is the request for payment itself.
The same template works for a lot of New Zealand situations: an employee claiming back a taxi fare, a volunteer in a community group buying supplies, a sports club member recovering costs, or a sole trader keeping a tidy record of deductible business expenses to give their accountant at tax time. A good template is generic enough to reuse every month and specific enough that nothing important is left out.
What to include in a New Zealand expense claim
A usable NZ expense claim form needs four groups of information: who is claiming, what the expenses are, the GST on them, and the proof. Leave any of these out and the claim is likely to be sent back.
Claimant and approval details
At the top of the form, capture the basics so the claim can be checked and paid:
- Full name of the person claiming, and their department, team or role.
- The date of the claim and the period it covers.
- A space for the claimant’s signature and the approving manager’s signature and date.
- A NZ bank account number for payment.
Many organisations also ask for proof of the bank account — a bank statement header or a screenshot from internet banking — the first time someone claims, to reduce the risk of fraud.
Expense line items
The heart of the form is a table where each row is one expense. Use these columns so the information is consistent and easy to total:
- Date of the purchase.
- Description or reason for the expense (what it was for).
- Category — for example travel, meals, entertainment, office supplies, fuel or accommodation.
- GST amount (see below).
- Total cost, including GST.
Consistent categories matter because they feed straight into bookkeeping and make it obvious which costs are deductible. If you are setting the categories yourself, keep them aligned with the way your accounting software or chart of accounts already groups spending.
GST on claimed expenses
GST in New Zealand is charged at 15%, so a GST-registered business can usually claim back the GST portion of a business expense. To do that cleanly, give the template a separate GST column rather than only a total, and record the GST shown on the supplier’s tax invoice. Businesses must register for GST once their turnover reaches NZ$60,000 in any 12-month period; below that, registration is optional, and if you are not registered you simply record the GST-inclusive total and ignore the GST column.
One common trap is mixing GST-inclusive and GST-exclusive figures in the same column. Pick one approach — most NZ forms record the GST-inclusive total and break out the GST separately — and label the columns clearly so nobody has to guess. If you also raise invoices, the same GST logic applies; our New Zealand tax invoice template guide covers the supplier side.
Receipts, proof of payment and categories
Every claimed line should be backed by a receipt or tax invoice. Since 1 April 2023 Inland Revenue has replaced the formal “tax invoice” with wider “taxable supply information” that you keep to support a GST claim: for a purchase of $200 or less the supplier’s name is enough, while for anything over $200 you also need the supplier’s GST number. Attach the receipts to the claim — scanned, photographed or stapled — and tick a column on the form to confirm each one is attached. Without proof, an expense generally cannot be reimbursed or deducted.
Claiming vehicle and mileage expenses
Vehicle travel is the one area where an NZ expense claim needs special handling, because you cannot simply claim the full cost of running a car used for both work and private trips. There are a few accepted methods, and your template should make room for whichever you use.
Kilometre rates are the simpler option: you record the business kilometres travelled and multiply them by IRD’s published rate. For the 2025–2026 income year the rates are:
- Petrol: $1.20 per km (Tier 1), then 37 cents per km (Tier 2)
- Diesel: $1.30 per km (Tier 1), then 38 cents per km (Tier 2)
- Petrol hybrid: 90 cents per km (Tier 1), then 24 cents per km (Tier 2)
- Electric: $1.22 per km (Tier 1), then 23 cents per km (Tier 2)
The Tier 1 rate covers the business share of the first 14,000 km the vehicle travels in the income year (counting both business and private travel). Once total travel passes 14,000 km, the lower Tier 2 rate applies to the business kilometres above that. IRD updates these rates each year, so check the current figures before you file.
Actual costs is the alternative: you keep every vehicle receipt (fuel, servicing, insurance, registration) and claim the business-use percentage. To work out that business proportion, Inland Revenue gives you three options — keep a logbook, claim a flat 25% of the vehicle’s running costs without a logbook (though you may be asked to substantiate that percentage), or add up the actual costs. A logbook is kept for at least 90 consecutive days, and the resulting percentage can then be used for up to three years, as long as your business use does not change by more than 20%. A mileage section on your template — date, from, to, reason, kilometres, rate and amount — keeps these claims tidy.
How to build a free expense claim template in a spreadsheet
A spreadsheet is the easiest place to build an expense claim form because it can add the rows up for you. The steps are the same whichever free app you use.
In Google Sheets or Excel
Create a header block for the claimant and approval details, then a table with the columns above. In the amount column, use a running total with a SUM formula at the bottom. For GST at 15%, a quick formula to pull the GST out of a GST-inclusive total is = total / 23 * 3. Freeze the header row, and use conditional formatting in Google Sheets to flag any row that is missing a receipt or a category. Google Sheets is free with a Google account; Excel is free in the browser and built into Microsoft 365.
In LibreOffice or OpenOffice Calc
If you would rather not use an online account, a desktop suite does the same job at no cost and works well on older or lower-spec computers. OpenOffice Calc and LibreOffice Calc both use the same SUM and percentage formulas, and both save to the open ODS spreadsheet format as well as to Excel’s .xlsx. That makes them a good fit if you want a template you can email to colleagues who use Excel, or if you need to open a CSV file exported from a bank or card statement and paste the transactions straight in.
In Word or Google Docs
For a one-off claim that will be printed and signed, a document works fine. Insert a table for the expense lines and add the totals by hand. A document template looks more like a traditional paper form, but it will not calculate GST or totals for you, so a spreadsheet is the better choice for anyone claiming regularly. The same build-your-own approach powers our other NZ office forms, from a household budget template to a workplace timesheet template.
Comparison
| Option | Format | Cost | Best for | GST & mileage |
|---|---|---|---|---|
| Google Sheets | Online spreadsheet (exports to .xlsx/.ods) | Free with a Google account | Shared claims, automatic totals | Add a GST column and a mileage formula |
| Microsoft Excel | Desktop or browser spreadsheet | Free in the browser; paid desktop | Offline use, built-in template gallery | Add a GST column and a mileage formula |
| LibreOffice / OpenOffice Calc | Desktop spreadsheet (.ods) | Free | Older PCs, no subscription or account | Add a GST column and a mileage formula |
| Word or Google Docs | Document table | Free | One-off printed and signed claim | Totals and GST worked out by hand |
| Xero expense template | Editable PDF (form-gated) | Free | A quick ready-made NZ form | Category and description fields; add GST and mileage yourself |
Where to download a ready-made expense claim template
If you would rather start from something finished, several genuine, safe sources offer a free form:
- Xero publishes a free expense report template for New Zealand. It arrives as an editable PDF after you fill in a short form with your email and business details, and the page explains how to convert it to a spreadsheet if you prefer. It is a reasonable starting point, but it is a lead-capture download rather than a one-click file.
- Microsoft Excel and Word include expense templates in their own gallery: open the app, choose File then New, and search for “expense”. These are built in, so there is no third-party download to vet.
- Google Sheets and Google Docs offer template galleries from the main menu, and you can copy any community expense template into your own Drive.
Whichever you pick, check that it has a GST column and NZ-style fields before you rely on it — many free templates are built for the United States or United Kingdom and will not match New Zealand’s 15% GST or bank account format. Avoid random “free download” sites that bundle installers; stick to the software maker’s own gallery or a known accounting brand.
Records you must keep
Once a claim is paid, the paperwork still matters. Inland Revenue requires businesses to keep their records — including expense claims, invoices and receipts — for at least seven years. Electronic records are fine: a clear photo or scan of a receipt is acceptable, so you do not need to hoard fading paper slips. Records must be kept in English or Māori unless IRD has approved another language, and if you store them in the cloud the provider or arrangement generally needs IRD approval. Keeping the filled-in templates and their attached receipts in dated folders makes an audit or a GST return far less stressful.
Common mistakes to avoid
Beyond the receipt, GST and record-keeping points above, a few process errors trip up otherwise valid claims:
- Missing approval. An unsigned or unapproved claim has no audit trail; always route it past the right person before it is paid.
- Submitting late. Many workplaces set a cut-off — often the end of the month or a set number of days after the purchase — and a claim filed after it may wait for the next cycle or be declined.
- Duplicate claims. The same receipt submitted twice — once on a card reconciliation and again as an expense claim — is a common and easily spotted error, so mark each receipt as claimed.
Disclaimer
This article is general information, not tax, accounting or legal advice. GST rules, kilometre rates, thresholds and record-keeping requirements change over time. Confirm the current figures and how they apply to your situation with Inland Revenue (IRD) or a chartered accountant before you file a claim or a return.
Sources
- Inland Revenue — Kilometre rates 2025-2026
- Inland Revenue — Vehicle expenses
- Inland Revenue — Use a logbook
- Inland Revenue — Tax invoices for GST (taxable supply information)
- Inland Revenue — Record keeping
- Inland Revenue — Records of income and expenses
- Inland Revenue — GST (Goods and services tax)
- Xero — Free expense report template (New Zealand)
Frequently Asked Questions (FAQ)
Can I claim an expense without a receipt in New Zealand?
As a rule you need a receipt or tax invoice to support a claim, and for GST you need taxable supply information — the supplier’s name for a purchase of $200 or less, plus their GST number once it is over $200. If a receipt is genuinely lost, a bank or card statement can sometimes back up a small purchase, but it is weaker proof and GST may not be claimable. The safest habit is to photograph each receipt as soon as you pay.
How soon do I need to submit an expense claim?
There is no single legal deadline, but most organisations set their own — commonly the end of the month or within 30 to 60 days of the purchase — so the cost falls in the right accounting period. File promptly while you still have the receipt; a claim submitted after the cut-off may roll into the next pay cycle or be declined.
Can I claim GST if the supplier is not GST-registered?
No. You can only claim GST that was actually charged, which means the supplier must be GST-registered, and for purchases over $200 the taxable supply information must show their GST number. If the supplier is not registered there is no GST to claim, so you record the full amount as the expense and leave the GST column empty.
Can sole traders and contractors use the same template?
Yes. A sole trader or contractor uses the same form to record deductible business expenses rather than to claim reimbursement from an employer. Keep business and private spending separate, record the GST if you are registered, and hand the completed templates and receipts to your accountant at tax time.
